Reading time: 4 min
So you want to run a Minecraft server.
Cool. You Google “how to host Minecraft” and instantly get slammed with guides that all tell you the same thing: you must port forward.
And that’s when the nightmare begins.
You log into your router, try to find the “port forwarding” section (spoiler: it’s buried three menus deep under something called “Advanced/NAT/Fire/Hell”), type in your ports, and then… nothing works.
Welcome to the world of Double NAT, ISP restrictions, and in some cases — routers so locked down they might as well be on parole.
Here’s the thing: port forwarding is dead to me. I’ve found a way to run Minecraft without touching that mess.
It’s called Tailscale, and it’s the closest thing to magic I’ve seen that doesn’t involve enchantment tables.
Step 1 – Get Your Minecraft Server Ready

First things first — you still need the basics:
• A PC or server that isn’t a toaster. Preferrably something with at least 16 GB of RAM and a Core i3 processor, otherwise just use Aternos.org and skip this guide entirely…
• Minecraft Java or Bedrock server software (your choice — pick Java if you like mods, Bedrock if you want cross-platform).
Minecraft Java in this particular situation, will run perfectly. I tested that, and it runs like a dream.
• Decent internet (don’t even try this on 1Mbps upload unless you enjoy PowerPoint slideshow gameplay).
And please connect the server device with a cable to the router, that way, you will save yourself and others from the lag monster.
Download your server .jar or .exe, put it in a folder, run it once, edit eula.txt to true, and run it again. Boom — vanilla server is alive.
Step 2 – Install Tailscale
1. Go to tailscale.com and download it for your operating system.
2. Install it on your server machine and on every device that will connect (PC, laptop, whatever).
3. Sign in with your Google, Microsoft, or GitHub account — no Tailscale account nonsense, just your existing login.
Or create a quick Google account just for this purpose; it’s much better to keep your personal account separate from the Minecraft server one.
Now you’re in a private, encrypted mesh network with yourself. Kinda romantic.
Step 3 – Get Your Tailscale IP
On the machine running the Minecraft server, open a terminal or command prompt and type:
tailscale ip -4It’ll spit out something like:
100.64.23.89That’s your LAN-like IP that works anywhere in the world as long as the other device is on your Tailscale network.
No public IP drama. No ISP calls. No “wait, what’s my IP now?” nonsense.
Step 4 – Give Your Friends Access

• Install Tailscale on their machines.
• Share your Tailscale network with them (either via the admin console or device sharing).
• They join, they get their own 100.x.x.x address, and they can reach your server like it’s sitting in the same room.
In Minecraft, they just enter your Tailscale IP like it’s a LAN server. Done.
Step 5 – Play Without Worry
No port forwarding.
No NAT traversal headaches.
No hackers scanning your public IP looking for open ports.
It’s literally plug-and-play — and encrypted.
Bonus – Fancy Exit Node Stuff
If you want to get spicy, you can advertise your machine as an exit node:
tailscale up --advertise-exit-nodeNow your friends can route all their traffic through your machine.
Not necessary for Minecraft, but fun if you want to play “Free VPN Provider” for the squad.
With that setup, Minecraft server, VPN on top, who can beat that?
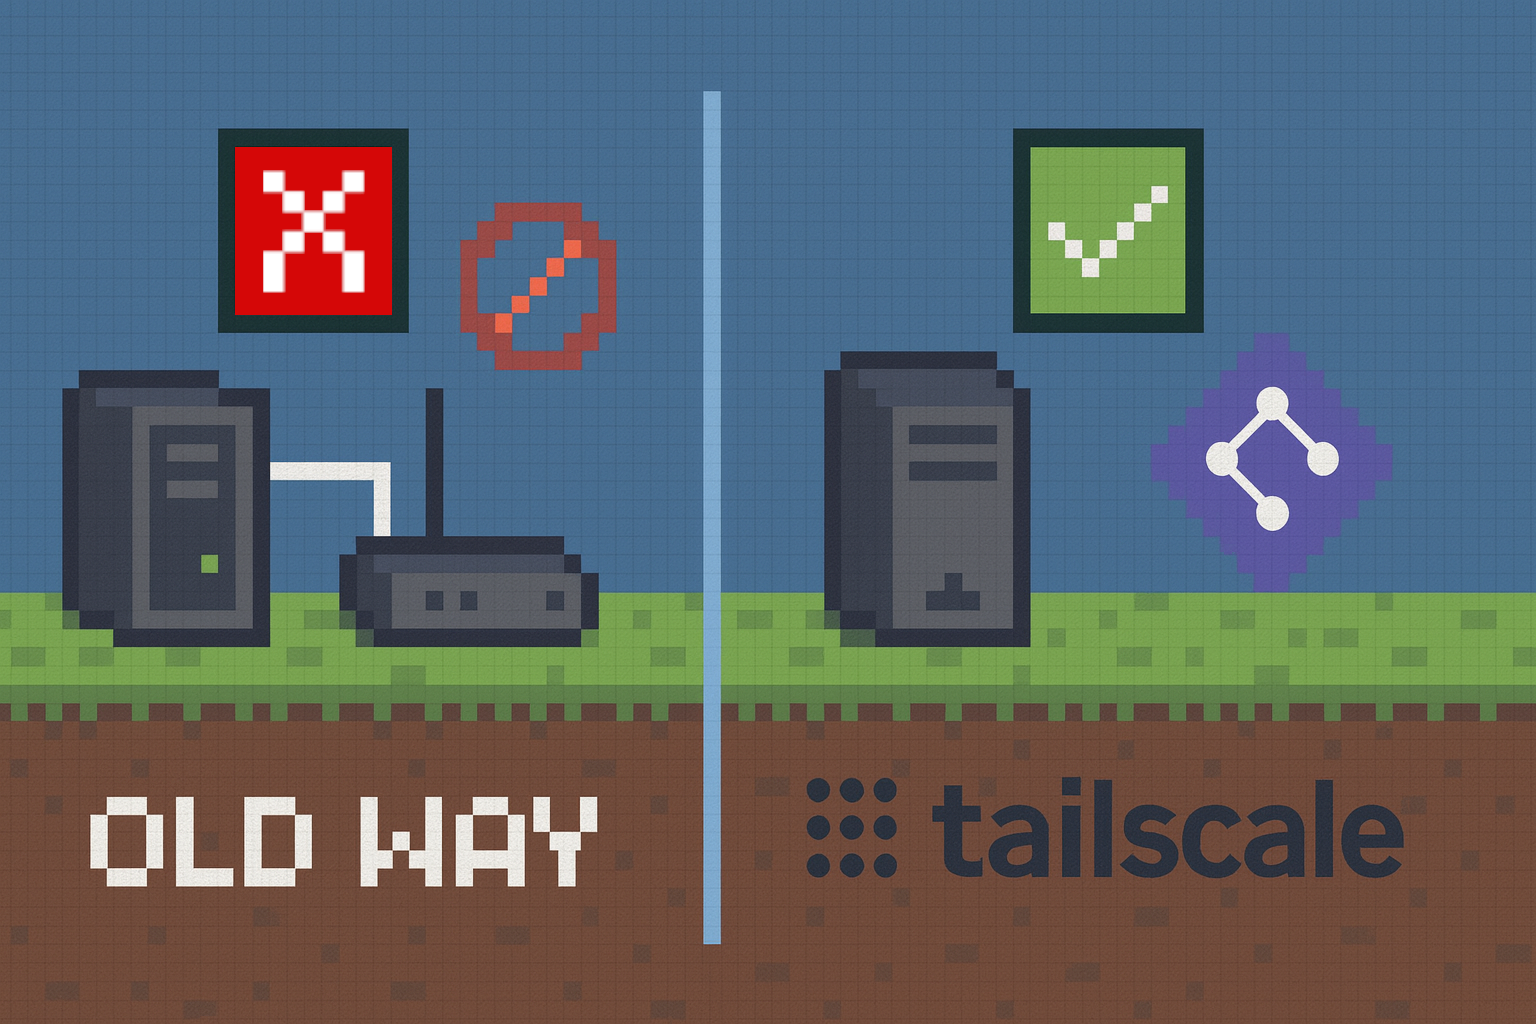
Why This Beats the Old Way

• Zero ISP drama – Works on any network.
• Secure by default – Encrypted tunnel, no exposed ports.
• No router login required – Some of you shouldn’t even be trusted with router logins anyway.
• Cross-platform – Works the same for Windows, Mac, and Linux.
Final Word:
Running a Minecraft server doesn’t have to involve sacrificing your sanity and 3 goats to the router gods. With Tailscale, you just install, log in, grab an IP, and you’re done. The only thing left is to decide whether you’re building castles, stealing diamonds, or blowing up your friend’s base “accidentally.”
If anything in this guide is not working out the way it should, just mention it in the comment section, so I can work on an easier guide to follow or fix any mistakes that might have slipped through the cracks.
Happy Gaming!
Hey! Interested in seeing other DIY stuff I am working on? Check this out: DIY BLOGS

