Reading time: 5 min
So, my father opened a factory in the States. He gets a warehouse, and naturally, he wants some cameras to keep an eye on things. Makes sense.
He starts asking around for quotes, and that’s when the daylight robbery begins.
No joke — one company (not naming names, I’m not here to start turf wars) quoted him $15,000 USD for six cameras and an NVR. Oh, and because they’re extra generous, they’d also charge a monthly fee just so he can view the cameras he already paid for.
Yeah, no. I’m not paying a ransom to see my own warehouse.
Why I Use Dahua (And You Should Too)
So here’s the thing: you can do this yourself. No black magic, no overpriced “enterprise security consultant” nonsense — just a bit of planning, the right gear, and a screwdriver. I’ve done this countless times, and if you follow along, you’ll save thousands.
I’ve worked with a lot of camera brands — Hikvision, Uniview, some cheap no-name ones from the bargain bin — and I keep coming back to Dahua. Why?
- Durability – These things handle weather, dust, and the occasional “oops” during installation.
- Features – Motion detection, smart alerts, easy remote viewing.
- Value – They’re priced fairly without cutting corners.
- Reliability – I’ve run a 16-camera setup with a single NVR off a 1KVA UPS for over an hour during power cuts.
- Free remote viewing – No monthly “viewing fee” scams.
- Software – DMSS app for mobile, DMSS HD for tablets, and SmartPSS for PC. They just work.
If you want to look elsewhere, Hikvision is decent, but I still put Dahua ahead — especially for DIY installs.
Step 1 – Figure Out What You Actually Need

Before you buy anything, walk through your place with a notepad.
How many cameras do you really need? What are you covering? A shop? A warehouse? Your garage?
The number, type, and placement of cameras will decide your budget. Guess wrong here, and you’ll either waste money or leave blind spots.
Pro tip: Use Google Maps satellite view or even print a floor plan and draw your coverage zones. This avoids the “oh crap, there’s a blind spot” moment after everything’s bolted to the wall.
Step 2 – Indoor vs Outdoor Cams
Outdoor cameras are weather-rated (look for IP66 or IP67). Indoor ones are not. Don’t cheap out by putting an indoor cam outside — it will die in months. And don’t overspend by putting heavy-duty outdoor cams indoors unless you like paying extra for features you’ll never use.
Step 3 – Know the Laws

Different countries (and sometimes states) have different CCTV rules. Things to check:
- Audio recording – Legal in some places, jail time in others.
- Placement – Some areas (bathrooms, changing rooms) are a hard no.
- Licensing – Some countries require permits for CCTV systems.
- Signage – A “CCTV in use” sign is legally required in many places and also scares off idiots.
Call your local police or check government websites before drilling holes and hanging cameras.
Step 4 – Don’t Buy Like a Kid in a Candy Store
PTZ (pan-tilt-zoom) cameras sound cool until you realize you’ll never actually move them.
Night vision? Only needed if your area isn’t lit 24/7.
Huge storage drives? Only worth it if you need weeks of footage — otherwise, the NVR will overwrite older days automatically.
Example:
- Small shop: 4 cameras, 4TB NVR, no PTZ, all fixed angles.
- Large warehouse: 8–16 cameras, maybe one PTZ for gate coverage, bigger NVR.
If you might expand later, buy an NVR with more slots now — it’s cheaper than replacing the whole thing later.
Step 5 – Plan Your NVR Spot and Wiring

I’m a big fan of wired PoE (Power over Ethernet) cameras. Why?
- One cable per camera (power + data in one).
- No battery changes.
- No lag.
- Weather doesn’t mess with your feed.
Run cables through walls, ceilings, or conduits. For outdoor runs or areas near heavy electrical cables, use shielded CAT6 — it’s more expensive, but interference is no joke.
Step 6 – Install Cams First, Then Wire to the NVR
Some people start from the NVR and run cables out. I start at the cameras and run towards the NVR.
Why? Because as you get closer to the NVR, your cables start grouping together, and it’s easier to manage them cleanly.
And because nobody likes a cable spaghetti.
Label both ends of every cable. Future-you will thank you. And you get to keep your hair while doing diagnostics or repairs.
Step 7 – Setup & Passwords

Dahua cams each have their own login, but if you connect them through the NVR during setup, the NVR passes its username and password to each camera.
Use a strong password. “admin123” isn’t strong, and please don’t be smart and say “Password” is my password. Hackers know the defaults.
Step 8 – Remote Access
Connect your NVR to your router. Plug in a monitor, grab the QR code or serial number, and scan it in the DMSS app. Done.
Stick to Dahua’s encrypted P2P — no messy port forwarding unless you enjoy opening your network to the world.
Real Talk – Cost Breakdown
Here’s a realistic budget for a DIY install (8 cameras, PoE, mid-range quality):
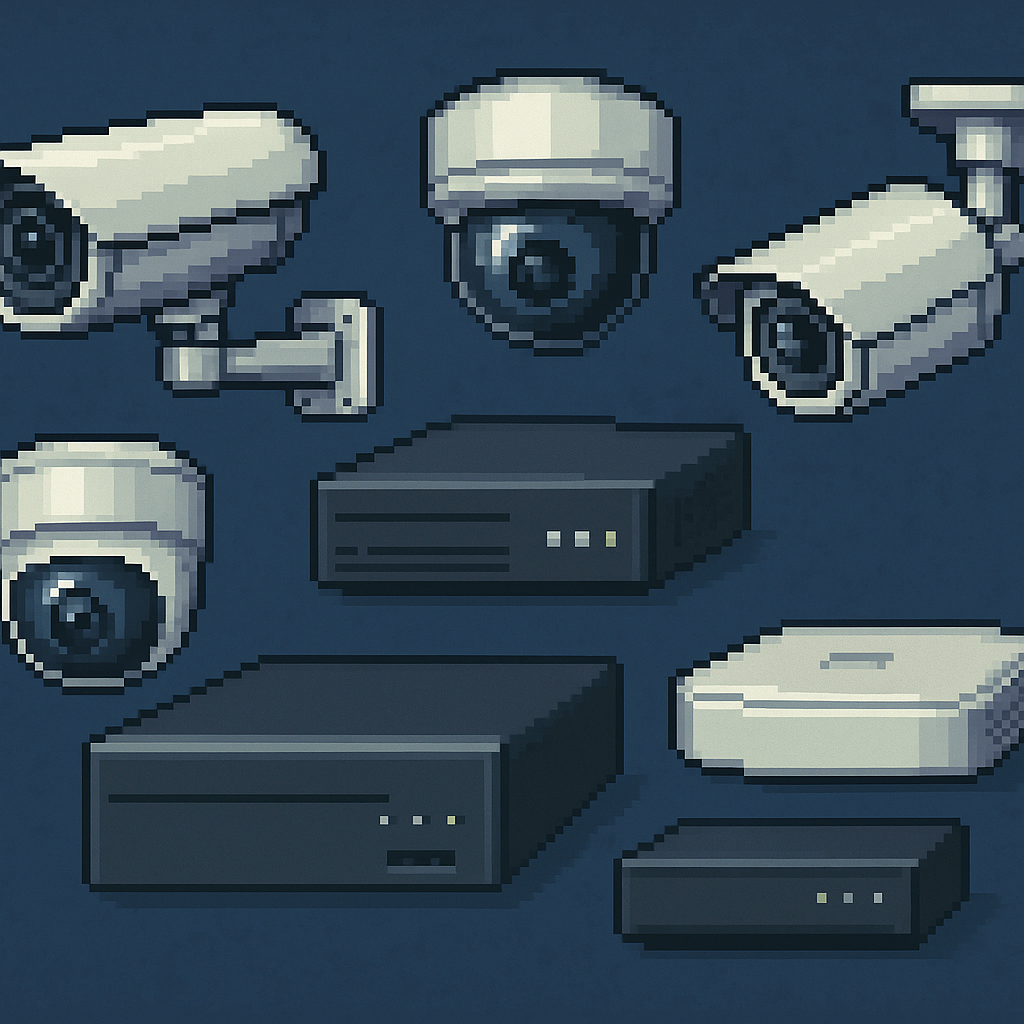
- 8 × Dahua 4MP PoE cameras: ~$75 each = $600
- 8-channel Dahua NVR with 4TB HDD: ~$350
- CAT6 cables, connectors, conduits: ~$150
- UPS 1KVA backup: ~$150
- Total: ~$1,250
Even if you double it for higher-end cams and extra storage, you’re nowhere near $15,000. And no monthly viewing fee.
Final Word:
Installing CCTV yourself isn’t rocket science. It’s just knowing what to buy, where to put it, and how to wire it. Do it right, and you’ll get a pro-level system for a fraction of the “professional” quote — and you’ll sleep better knowing you didn’t get fleeced.
Hey! Check my other DIY stuff over here: DIY BLOGS


Great post! Lots of new information I never knew about CCTV set up. I’m saving this to reference next time.
Thank you for liking the post, good idea to save it as reference the next time some company tries to scam you with an inflated qoutation the size of a balloon.